Before we explain how to put an over grip on correctly, we should cover why using one is important for tennis players. Every tennis racket comes with its grip. It is there to be used. However, even professional players usually avoid doing so.The reason that players don’t use the original grip is that it will wear down and wear out over time. When this happens, it becomes problematic to remove without leaving parts of the grip still on the tennis racket handle. Alternatively, when using an overgrip to cover over parts of the original grip that have worn down or worn away, the new grip will feel uneven.
Using an Overgrip Avoids Damage to the Original Grip
To prevent the kind of issues described above, an overgrip is applied to a new tennis racket which can wear down over time. It is then possible to remove it, without damaging the original grip, and replace the overgrip with a new one. By managing the grip this way, it avoids making the handle uneven for experienced and inexperienced players.
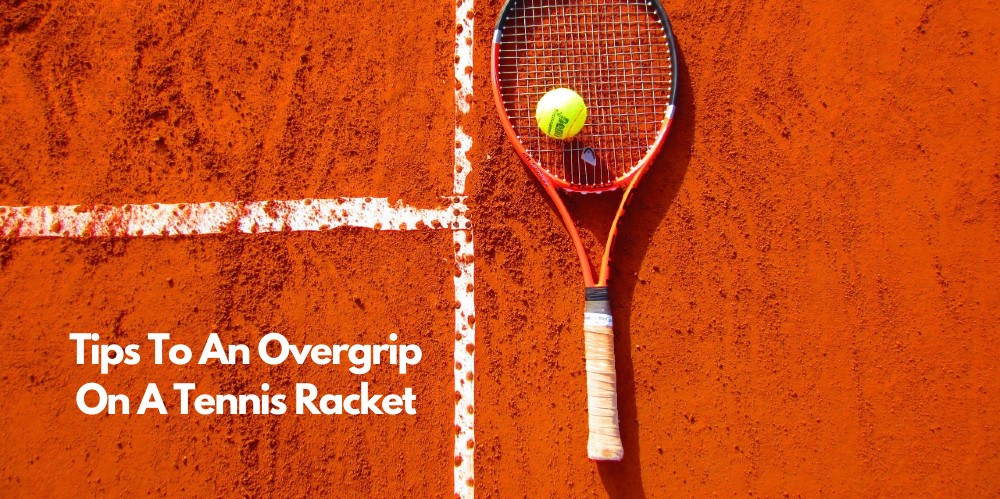
How to Put an Overgrip on a Tennis Racket
Putting on an overgrip onto a tennis racket is performed differently depending on whether the player who will use the racket is left-handed or right-handed.
Firstly, most grips secure the end of it with a double-sided tape. This helps it stay in place. Some products, like the Tourna grip, don’t include a double-sided tape design but work equally well. When there isn’t a double-sided tape, it is a little harder to apply the grip correctly to the racket. But in most cases, what is needed is practice.
Secondly, with the double-sided tape (if any) removed, you’re ready to begin. For right-handed players, take the racket in the left hand (or right hand for left-handed players) and place the end of the grip at the very end of the handle. The tape must line up with the edge of the end, but not overlap it. Stick it down and then wrap it all the way around the handle covering the very end of the original grip, so there are no gaps at the bottom of the tennis racket handle.
Continuing, once this first circle of the grip has been put in place, begin angling downwards modestly to let the grip start to coil around the handle. While doing so, keep a finger on the edge of the grip to maintain it’s starting position; this avoids the grip unraveling while putting it into place. The amount of tension when pulling on the overgrip while coiling it around the handle must be consistent throughout the process. The angle also must be consistent too. Once the handle is fully wrapped, secure the tape either with the included double-sided tape or with electrical tape.
It can often take a few tries at this process before you get the handle of it. There’s no harm in starting over to get just the right tension and good angle for a perfect fit. Once the racket is ready, hit the courts to see how it feels in hand.
Must Read :-